# Using Hugo with Tailwind CSS 2
Author: [Wim Deblauwe](https://www.wimdeblauwe.com/about/) | Published: 2021-01-18 | Topics: hugo, tailwindcss | Canonical: https://www.wimdeblauwe.com/blog/2021/01/18/using-hugo-with-tailwind-css-2/
[Tailwind CSS](https://tailwindcss.com/) version 2 has recently been released. This blog post shows how to add Tailwind CSS to your [Hugo](https://gohugo.io/) generated blog.
Make sure you [have Hugo installed](https://gohugo.io/getting-started/installing/) to follow along. I am using Hugo 0.79.0. You also need to have `npm` installed. I am using 6.14.7.
1. Create a new Hugo site:
```
hugo new site my-hugo-site
```
_my-hugo-site_ can be anything you want, it will also be the directory where the files are created.
2. Change to the generated directory and create an empty `package.json` file to bootstrap the `npm` project:
```
cd my-hugo-site
npm init
```
Enter the requested information, or just go with the defaults.
3. Install Tailwind CSS as an npm dependency together with the other needed dependencies:
```
npm install tailwindcss postcss postcss-cli autoprefixer
```
This should result in an update of `package.json` to have a `dependencies` section like this:
```json
{
...
"dependencies": {
"autoprefixer": "^10.2.1",
"postcss": "^8.2.4",
"postcss-cli": "^8.3.1",
"tailwindcss": "^2.0.2"
}
}
```
4. Create `postcss.config.js` at the root of the project with the following contents:
```js
module.exports = {
plugins: {
tailwindcss: {},
autoprefixer: {}
}
}
```
5. Initialize the Tailwind CSS configuration file:
```
npx tailwindcss init
```
This generates a `tailwind.config.js` file. This allows to [configure and customize](https://tailwindcss.com/docs/configuration) Tailwind CSS.
6. Update the `purge` option in `tailwind.config.js`:
```js
module.exports = {
purge: ['layouts/**/*.html'],
darkMode: false, // or 'media' or 'class'
theme: {
extend: {},
},
variants: {
extend: {},
},
plugins: [],
}
```
7. Create `assets/css/main.css` with the Tailwind CSS directives (You will need to create the `assets/css` directory manually):
```
@tailwind base;
@tailwind components;
@tailwind utilities;
```
8. Create `layouts/_default/baseof.html`:
```html
{{ partial "head.html" . }}
{{ block "main" . }}{{ end }}
{{ partial "footer.html" . }}
```
9. Create `layouts/partials/head.html`:
```html
{{ $styles := resources.Get "css/main.css" | postCSS }}
{{ if .Site.IsServer }}
{{ else }}
{{ $styles := $styles | minify | fingerprint | resources.PostProcess }}
{{ end }}
```
The `.Site.IsServer` flag is `true` when running the live reload server. When building for production, this is `false`. This allows to only minify and purge the CSS when building the production site.
10. Create `layouts/partials/footer.html`:
```html
```
11. Create `layouts/index.html`:
```html
{{ define "main" }}
Welcome to Hugo with Tailwind CSS
This is an example site with Tailwind CSS 2
{{ end }}
```
12. Start the Hugo live reload server:
```
hugo server
```
With all this in place, the browser should show something like this:
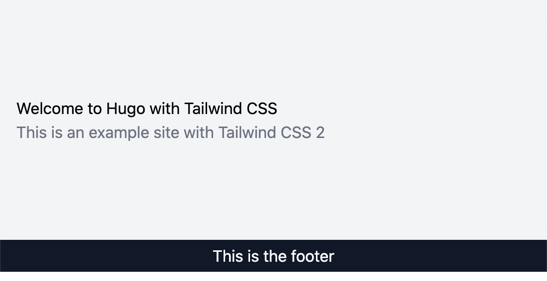
You see the website with some basic styling from the Tailwind CSS classes that have been used.
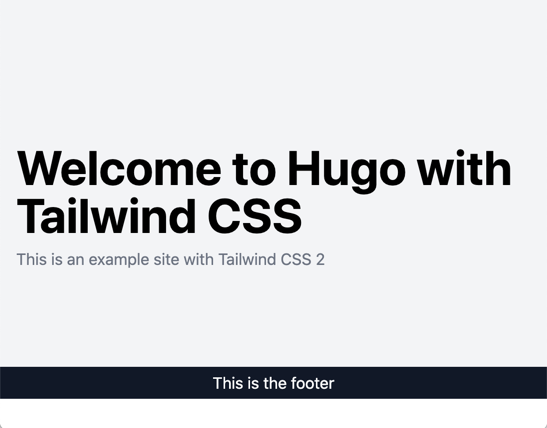
Since Tailwind CSS normalizes everything, the `
` title will be just normal text size. We can give it a style to our liking by updating `assets/css/main.css` using `@apply`:
```css
@tailwind base;
@tailwind components;
@tailwind utilities;
h1 {
@apply text-5xl font-bold mt-12 mb-2
}
```
The browser should automatically refresh and show the updated title style:
To build for production, be sure to set the `NODE_ENV` variable:
```
NODE_ENV=production hugo
```
This will ensure only the minimum needed CSS will be generated.
_I would like to thank the authors of [How to Get Tailwind Integrated With a Hugo Site](https://www.thedelisledomain.com/blogs/how-to-get-tailwind-integrated-with-a-hugo-site/) and [rockylinux.org](https://github.com/rocky-linux/rockylinux.org) for the inspiration they provided to get to this setup._