Building a complete user management system yourself is quite some work. However, you can very easily allow users to use social login with Google for example and avoid having to do all that work yourself. This blog post will show how to quickly setup a Spring Boot with Thymeleaf project and secure it using Google login.
Project setup
Start by generating your project on start.spring.io with the following versions and dependencies:
-
Spring Boot 3.0.2
-
Java 17
-
Maven (you can use Gradle if you like)
-
Dependencies:
-
Spring Web
-
Thymeleaf
-
Spring Security
-
OAuth2 Client
-
Now we create a controller and a Thymeleaf template to have something to test our setup with.
The controller will serve the index.html template at the root of the application:
import org.springframework.stereotype.Controller;
import org.springframework.web.bind.annotation.GetMapping;
import org.springframework.web.bind.annotation.RequestMapping;

@Controller
@RequestMapping("/")
public class HomeController {

    @GetMapping
    public String home() {
        return "index";
    }
}
The Thymeleaf template at src/main/resources/templates/index.html:
<!DOCTYPE html>
<html lang="en">
<head>
    <meta charset="UTF-8">
    <title>Google login demo</title>
</head>
<body>
<div>Hello Google user!</div>
</body>
</html>
If we start the application like this, we get the default Spring Security login form:
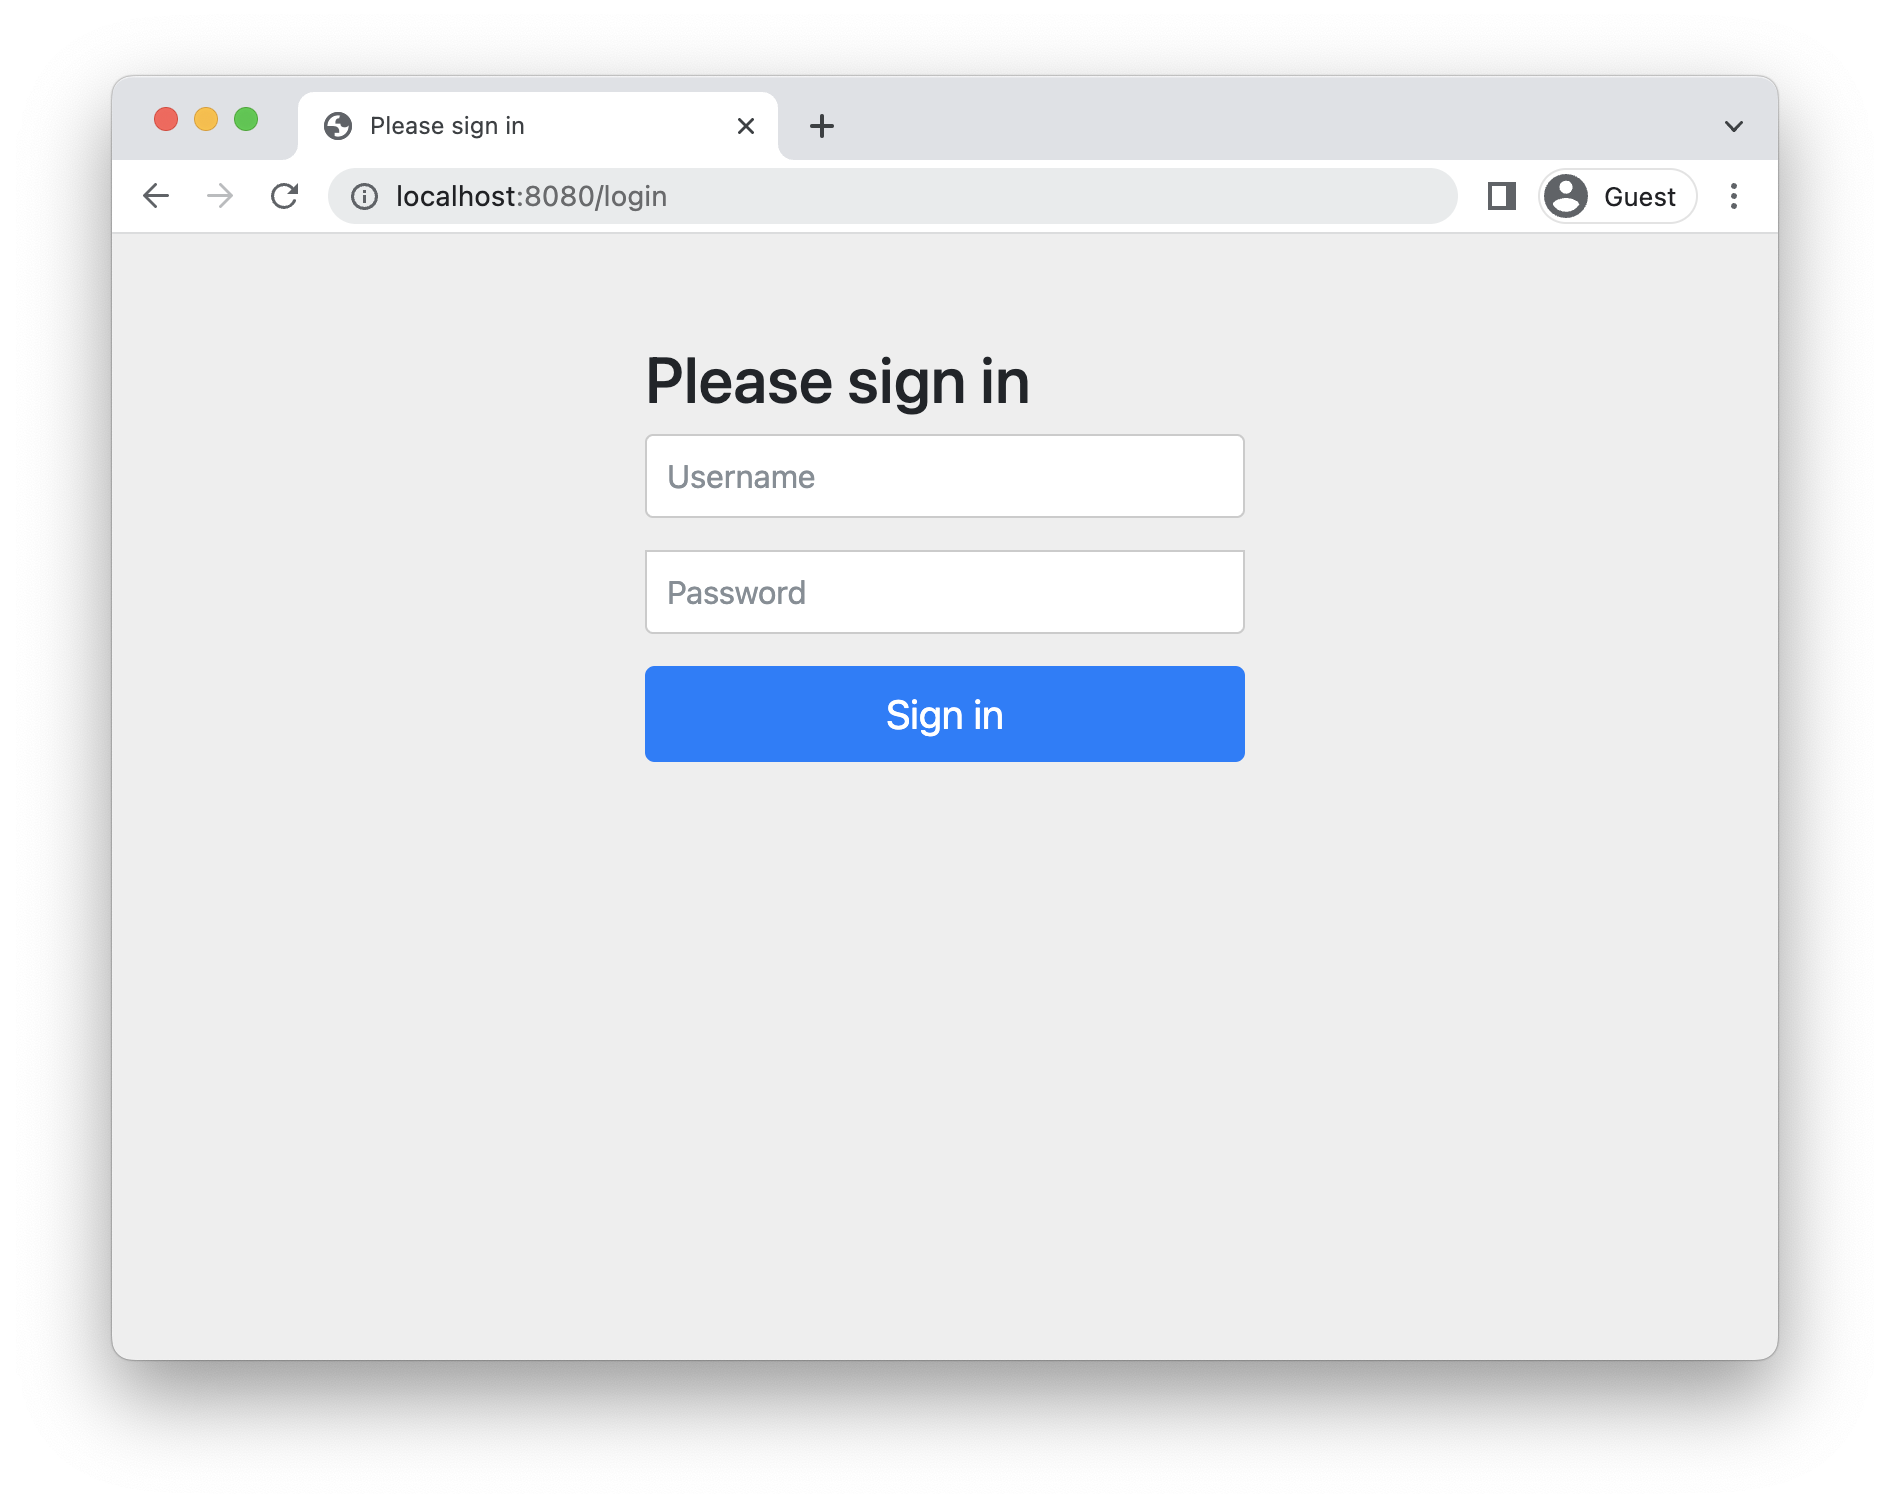
We can sign in using the username user and the generated password that is printed in the logs:
2023-01-24T07:33:57.472+01:00  WARN 89189 --- [           main] .s.s.UserDetailsServiceAutoConfiguration :

Using generated security password: aae5b8e5-1fac-487d-ad9a-8e10af3070f1

This generated password is for development use only. Your security configuration must be updated before running your application in production.
After login, you should see our home page. You can logout again by manually going to http://localhost:8080/logout.
Google application setup
To be able to allow users to sign in to your application with their Google account, we will need to register our application with our own Google account first. Go to https://console.cloud.google.com/ and follow these steps:
-
Create a project
-
Under 'APIs & Services', select 'Credentials'
-
Select 'Create credentials' and select 'OAuth Client ID'
-
Configure your consent screen by selecting 'External'. If you are building an application that will only be used by users internal to your organisation, you should select 'Internal'.
-
Set an 'App name' for your application.
-
No need to configure Authorized Domains for now.
-
Select the scopes
/auth/userinfo.email,/auth/userinfo.profileandopenid. -
Add yourself and any other users you want to the test users.
-
-
After configuring the consent screen, select 'Create credentials' and 'OAuth Client ID' again.
-
Select 'Web application' as application type.
-
Give your client a name. I used the default
Web client 1. -
Add an Authorized Redirect URI with the value
http://localhost:8080/login/oauth2/code/google. -
Press 'Create'
-
If all is well, you will now get a client id and a client secret:
Configure the security
We can now configure our application to use the Google login.
Start by adding this to your application.properties:
spring.security.oauth2.client.registration.google.client-id=<your-client-id>
spring.security.oauth2.client.registration.google.client-secret=<your-client-secret>
Use your own client id and client secret in the properties file.
Create a security configuration bean:
import org.springframework.context.annotation.Bean;
import org.springframework.context.annotation.Configuration;
import org.springframework.security.config.annotation.web.builders.HttpSecurity;
import org.springframework.security.web.SecurityFilterChain;

@Configuration
public class WebSecurityConfiguration {

    @Bean
    SecurityFilterChain filterChain(HttpSecurity http) throws Exception {
        return http
                .authorizeHttpRequests()
                .anyRequest().authenticated()
                .and()
                .oauth2Login()
                .and()
                .build();
    }
}
Start the Spring Boot application again and go to http://localhost:8080 in your browser. You will notice that the browser redirects to Google to show the login screen:
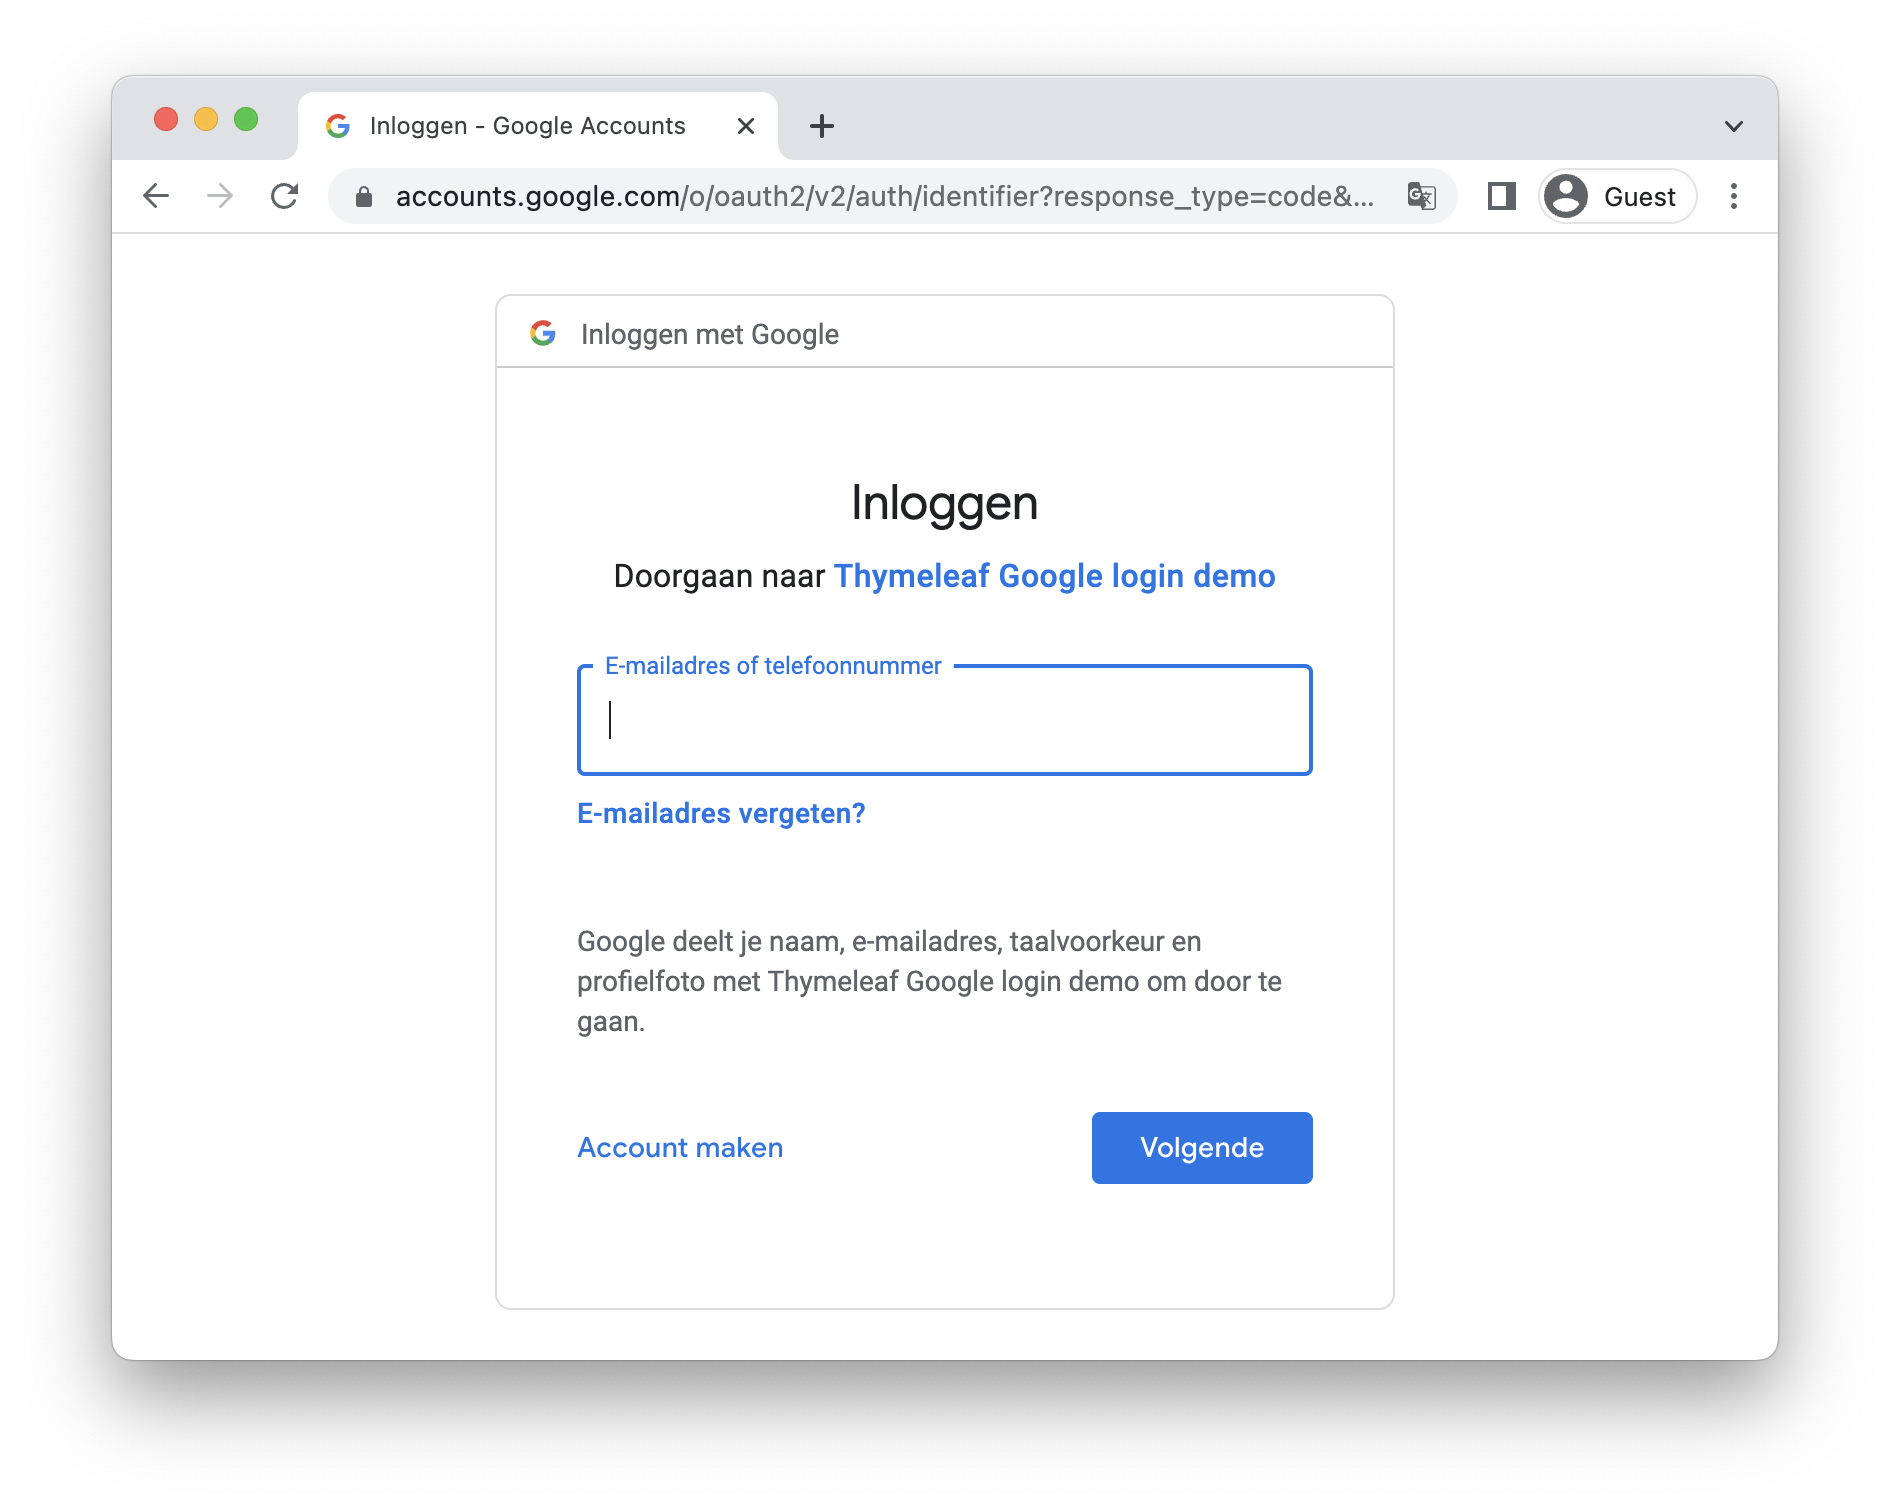
If you now log in with one of the test users that you added in the Google console, you will see our rendered Thymeleaf template:

Getting user information
Our application is now secured, but it would be nice if we could show some information on the logged on user.
To do that, have Spring inject an org.springframework.security.oauth2.core.user.OAuth2User instance into the controller method like this:
@Controller
@RequestMapping("/")
public class HomeController {

    @GetMapping
    public String home(Model model,
                       @AuthenticationPrincipal OAuth2User user) {
        String name = user.getAttribute("name");
        String email = user.getAttribute("email");
        model.addAttribute("name", name);
        model.addAttribute("email", email);
        return "index";
    }
}
To make the injection work, we need to annotate the parameter with org.springframework.security.core.annotation.AuthenticationPrincipal.
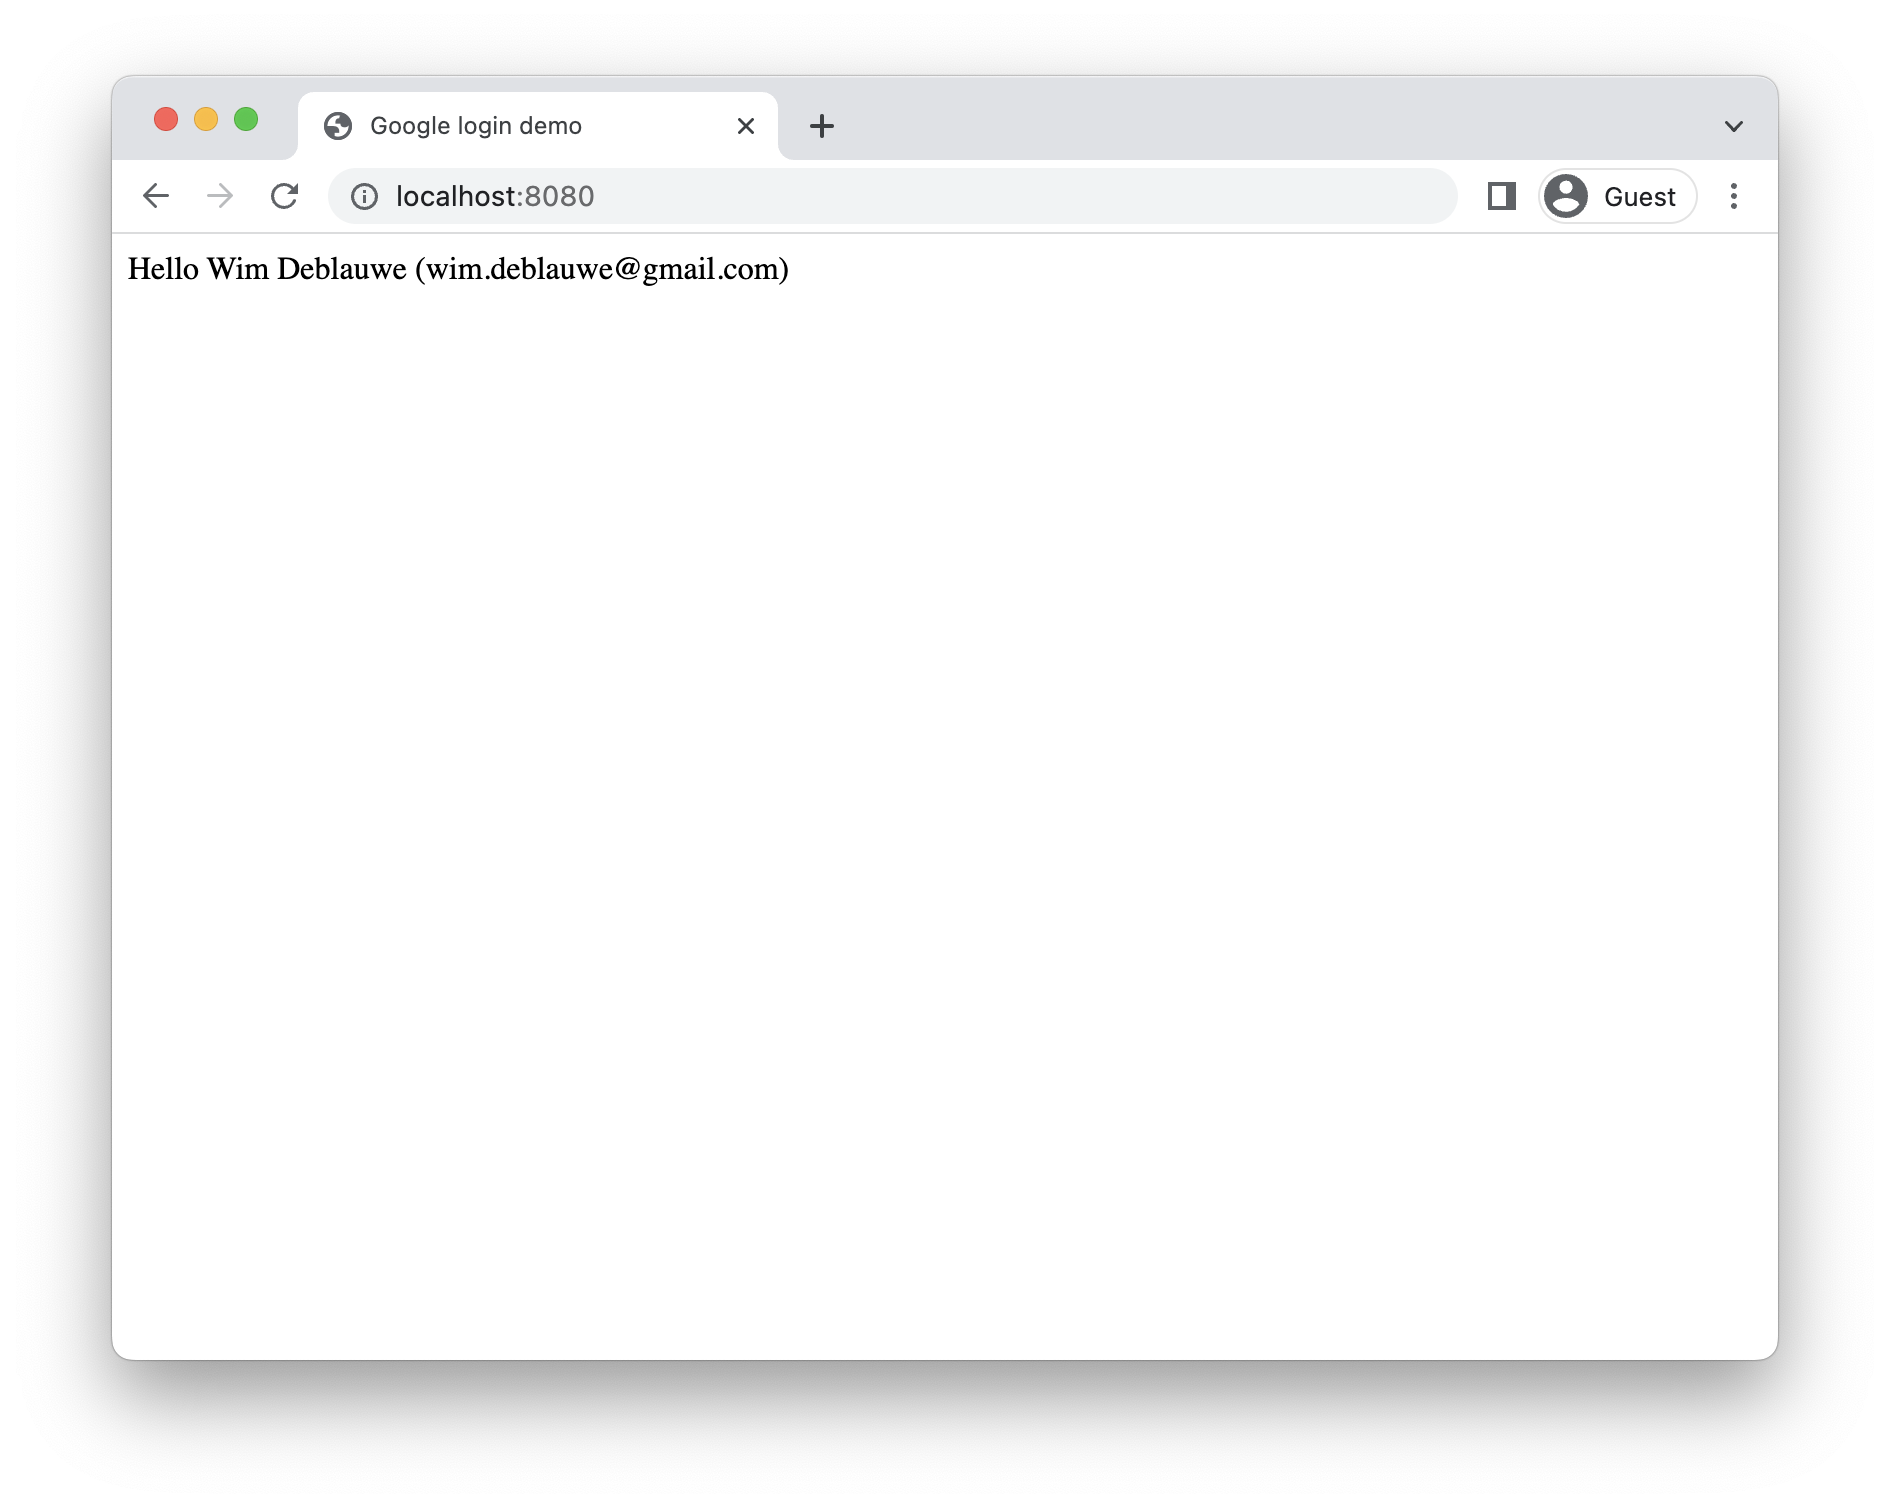
Using the user object, we can retrieve information about the logged on user.
In this example, we retrieve the name of the user and his or her email address.
We put those as attributes in the Model so we can display them in our Thymeleaf template:
<!DOCTYPE html>
<html lang="en"
      xmlns:th="http://www.thymeleaf.org">
<head>
    <meta charset="UTF-8">
    <title>Google login demo</title>
</head>
<body>
<div>Hello <span th:text="|${name} (${email})|"></span></div>
</body>
</html>
Restart the application and refresh the browser. The name and email address of the user is now shown:
Conclusion
Adding Google login to a Spring Boot and Thymeleaf application is quite easy once you know how to do it. Basically, you just need to add the correct dependency, set the client id and client secret and configure Spring Security.
See thymeleaf-google-login on GitHub for the full sources of this example.
If you have any questions or remarks, feel free to post a comment at GitHub discussions.